Creating a Lightsail Instance
Creating a Lightsail Instance
In this step, we will create a Lightsail instance.
-
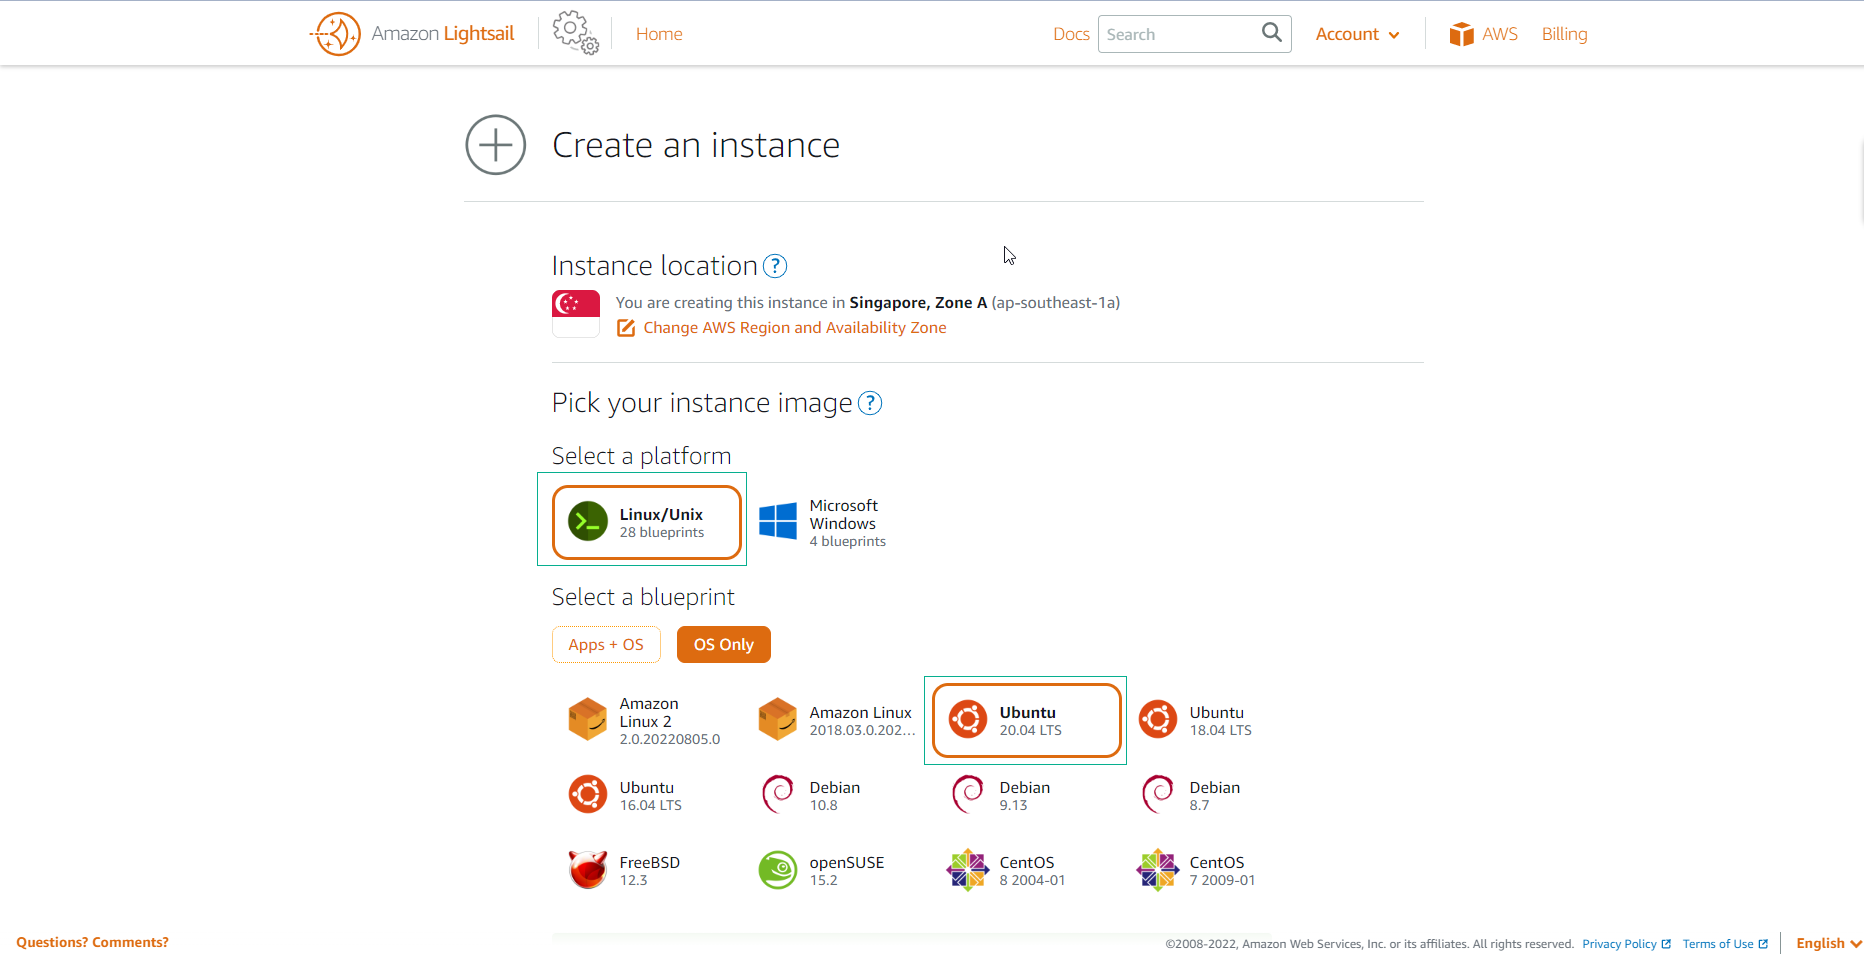
From the Lightsail management console, click on Create Instance.
-
Choose the Linux/Unix platform. In the Blueprint section, click on OS Only, and then select Ubuntu Linux 20.04 LTS.
-
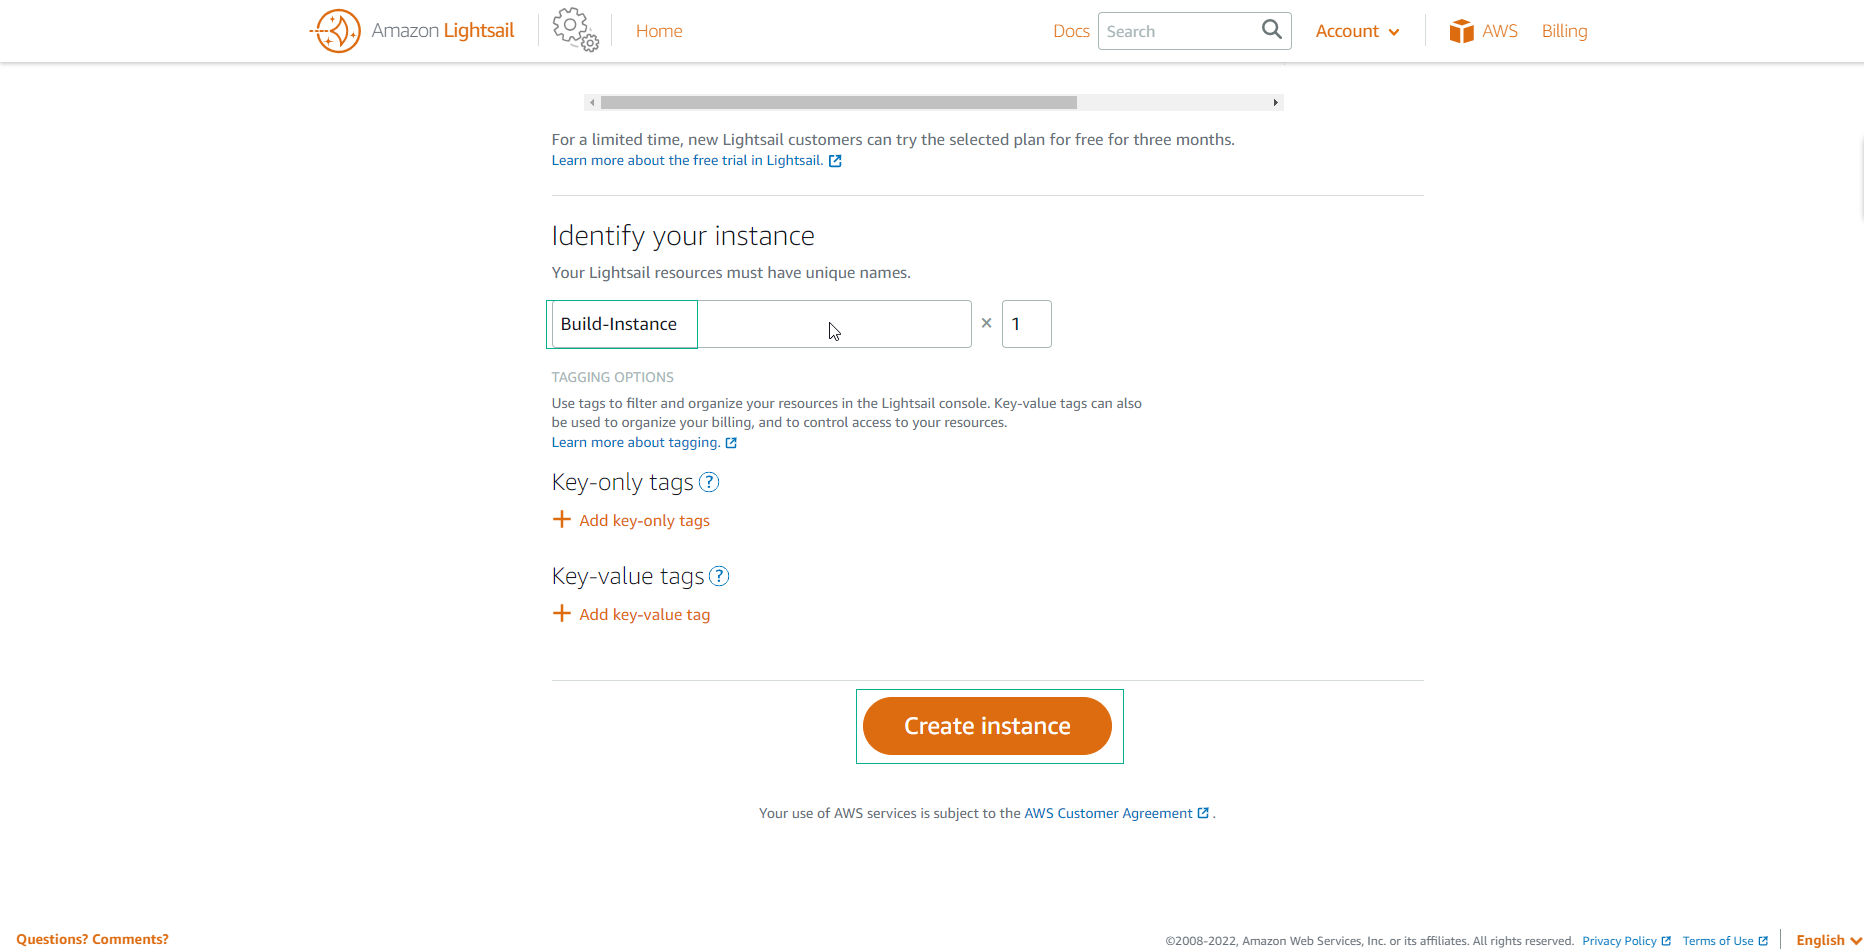
Scroll down to the Identify your instance section, and name your instance Build-Instance.
-
Continue scrolling down and click on Create Instance.
-
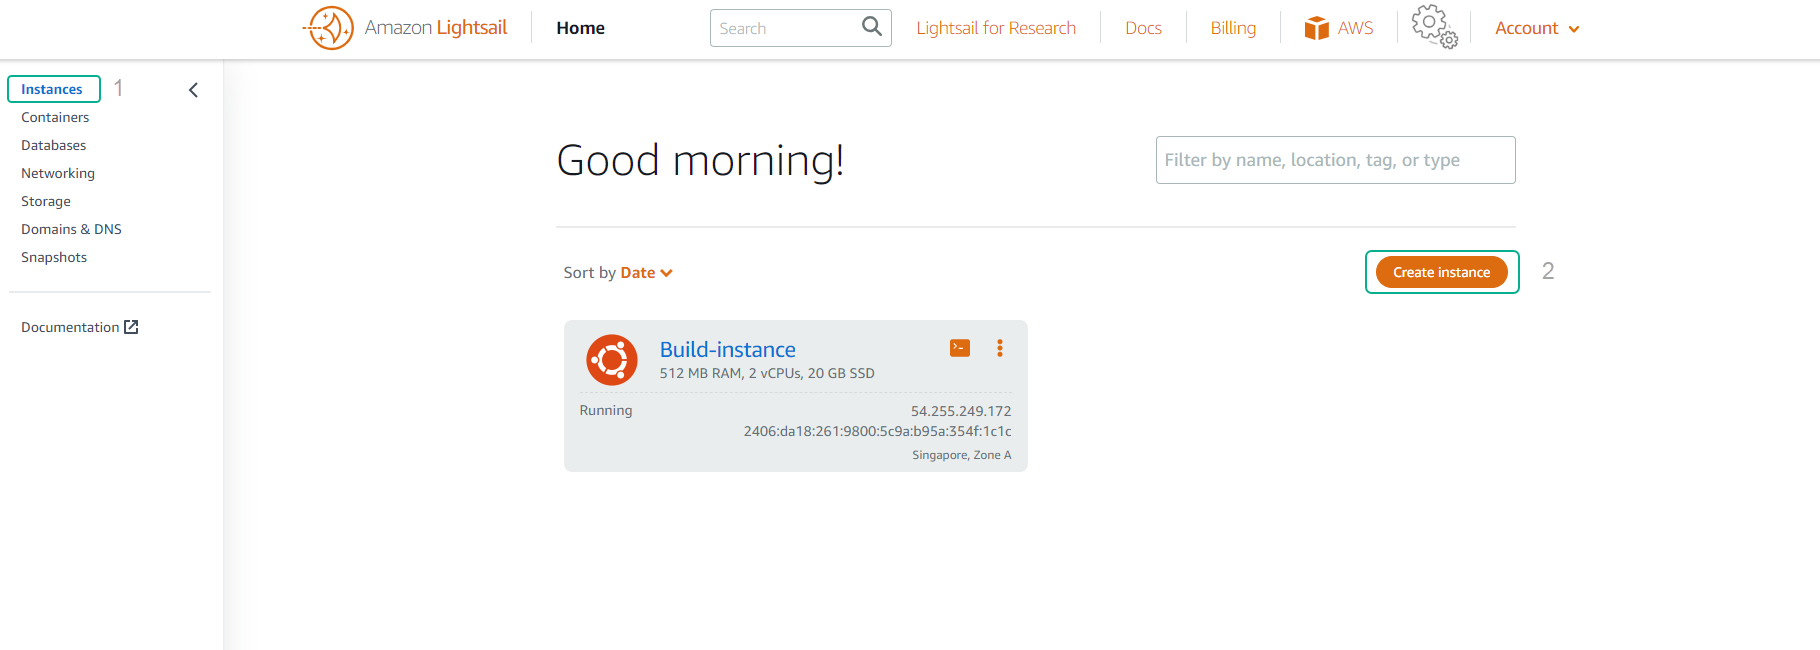
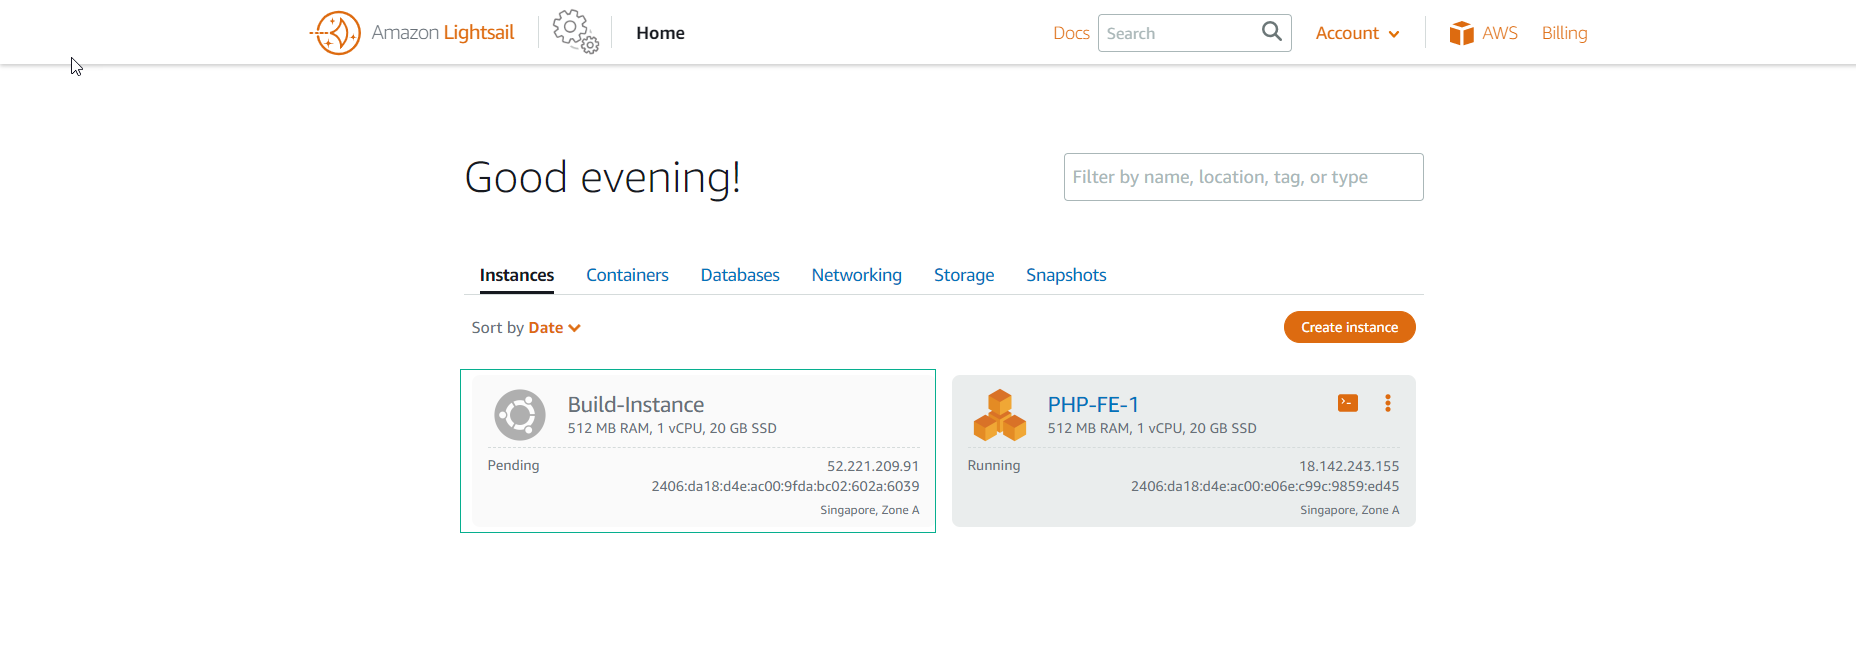
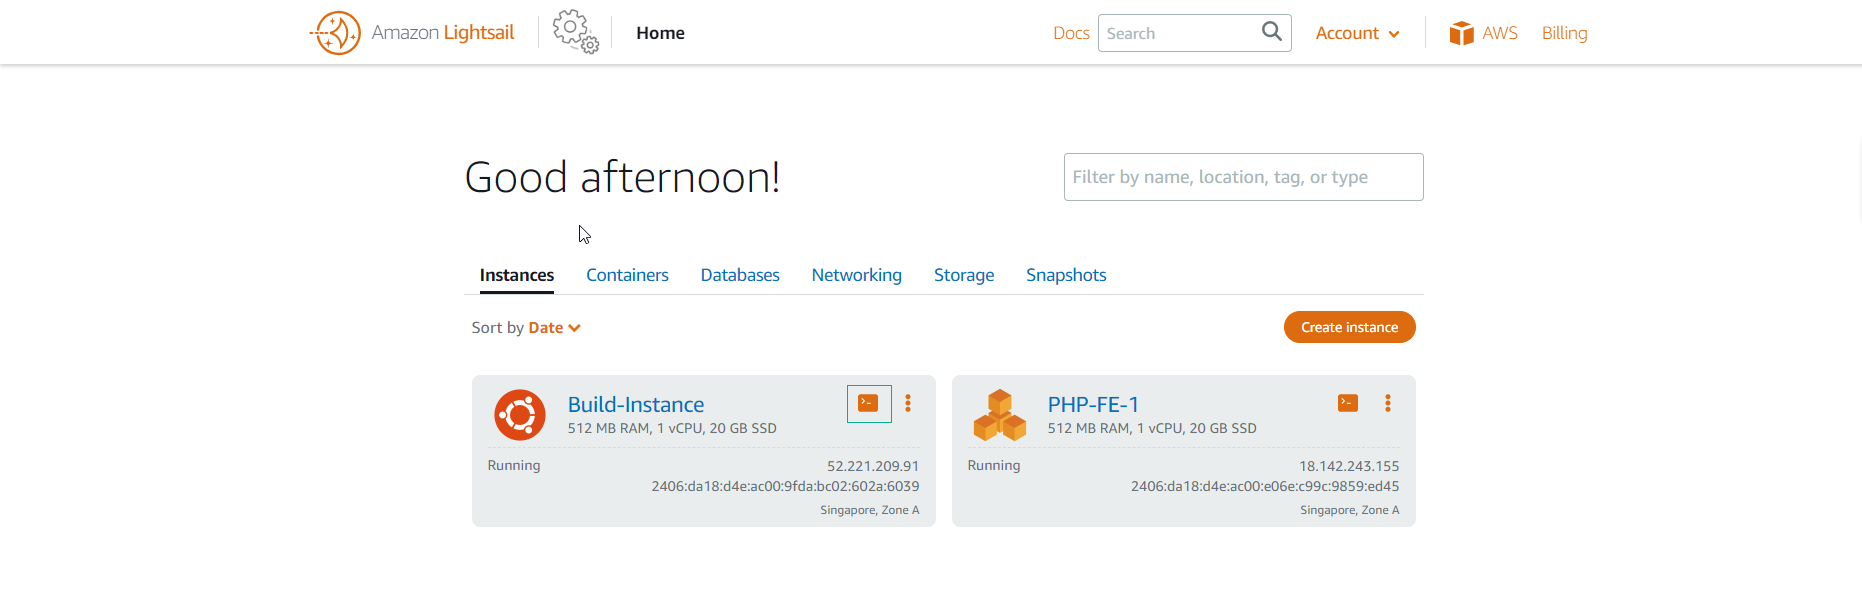
Wait a few minutes for the instance to change to the running state as shown below.
- Click on the command line icon to connect to the Build-Instance.
-
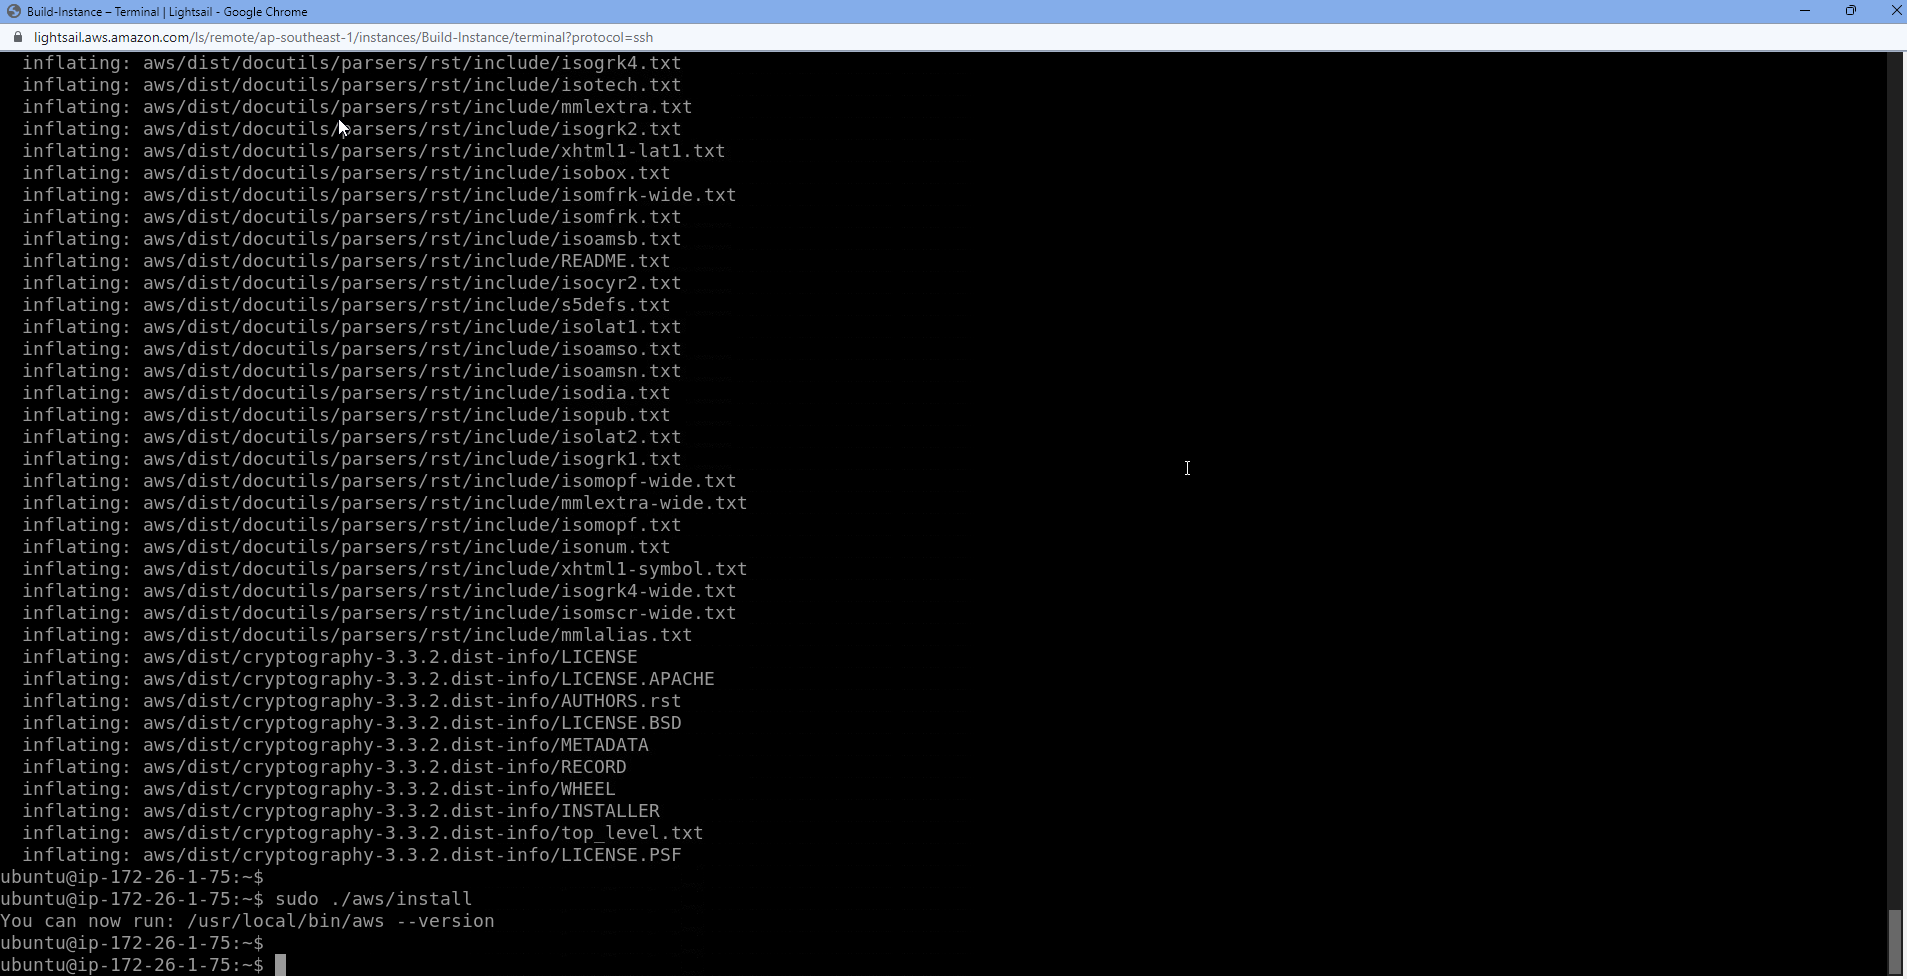
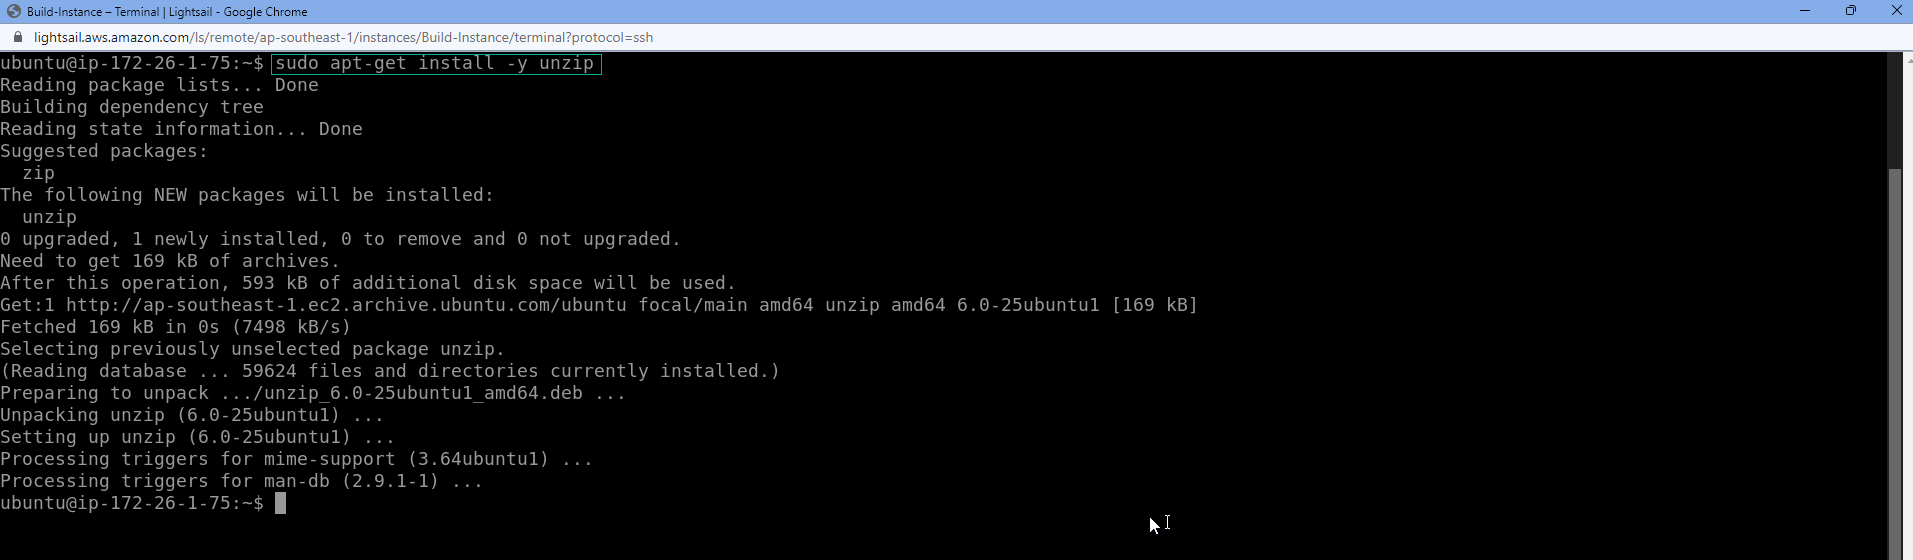
Install the unzip tool for Ubuntu
sudo apt-get install -y unzip
- Install AWS CLI on Build-Instance by running the commands below
sudo curl "https://awscli.amazonaws.com/awscli-exe-linux-x86_64.zip" -o "awscliv2.zip"
sudo unzip awscliv2.zip
sudo ./aws/install

- Install the Lightsail control plugin for AWS CLI by running the commands below
sudo curl "https://s3.us-west-2.amazonaws.com/lightsailctl/latest/linux-amd64/lightsailctl" -o "/usr/local/bin/lightsailctl"
sudo chmod +x /usr/local/bin/lightsailctl
- Next step we will create awsstudent user with Administrator Access permission, then create accesskey / secret accesskey to configure AWS CLI.